Log Splitter Manuals (How to Find the Right One)
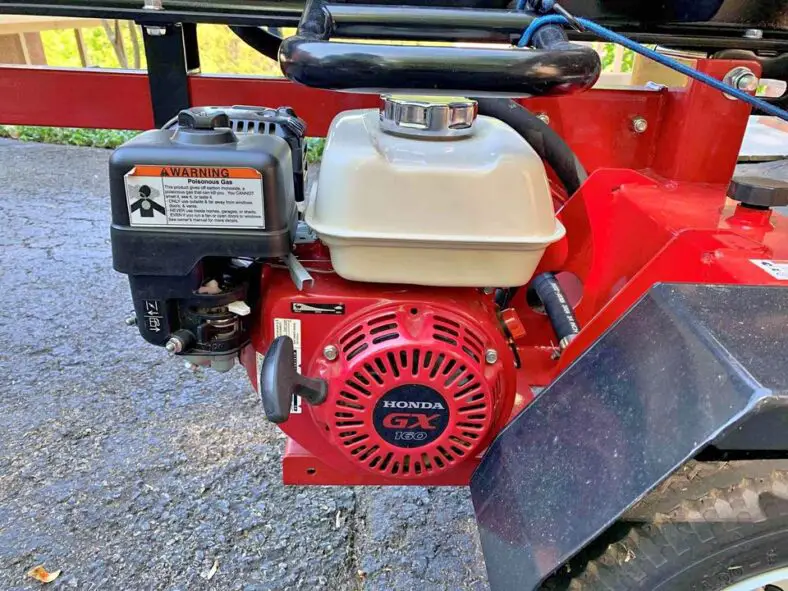
Log splitter manuals (find yours by brand) The fastest way to solve a setup, maintenance, or troubleshooting question is to pull the manual for your exact model. Use the steps below, then jump to your brand. Troubleshooting hub: log splitter troubleshooting (start here) Quick brand links NorthStar (Northern Tool) Champion CountyLine (Tractor Supply) Generac Engine […]