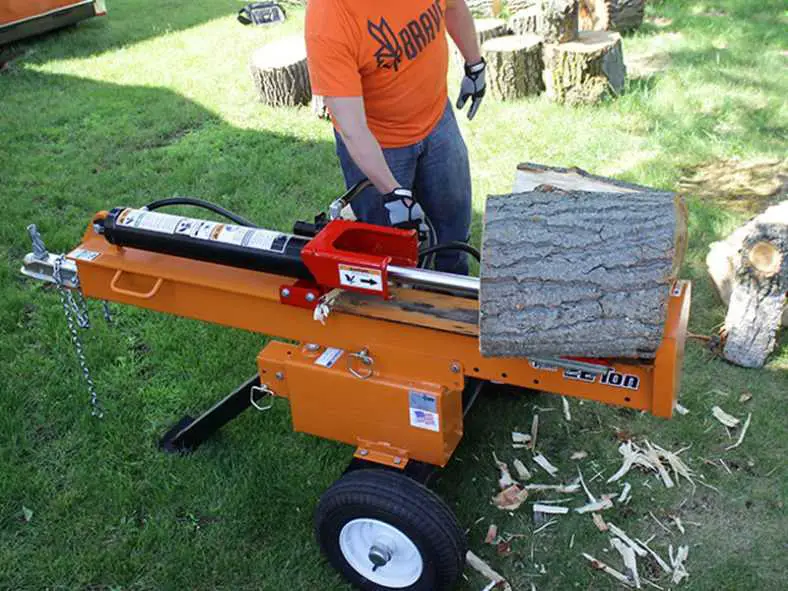
Using a Log Splitter Vs Splitting by Hand: How to Split Wood Efficiently!

As the golden hour paints the sky and you’re lookin’ at a heap of logs needing splitting, a thought might cross your mind – should you be using a log splitter vs splitting by hand? Well now, it’s not a one-size-fits-all answer, I’m afraid. Depends on a whole host of things. Let’s dive deeper into […]