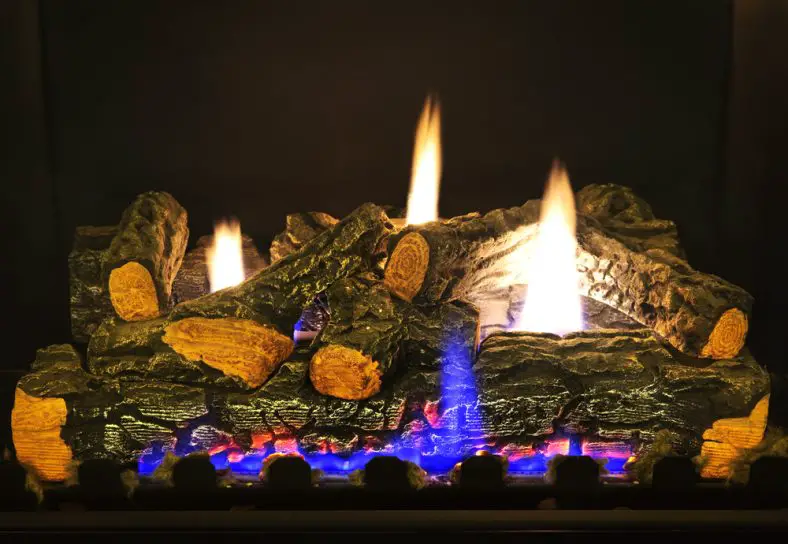
Heat N Glo Gas Fireplace Maintenance: What you Must Know!
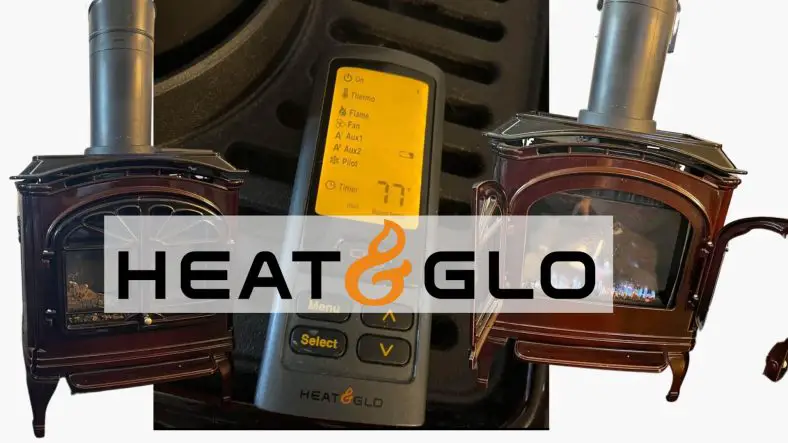
When the chill of winter encroaches upon your doorstep, the radiant warmth of a gas fireplace offers a comforting respite. However, preserving this indispensable comfort requires consistent and effective Heat n Glo gas fireplace maintenance. Ensuring this emblem of homely warmth remains functional and efficient not only supports your comfort but also safeguards your peace […]